There is a gardening trick that takes care of your plants just like you do, and it is ideal if you are about to go on holiday. It involves watering with bottles
How to make a bottle watering system for your plants: ideal for holidays
Homemade drip irrigation using plastic bottles has become one of the most practical, inexpensive and environmentally friendly solutions for keeping plants hydrated. No experience or special tools are required, as with a couple of empty bottles and a few minutes, you can create an efficient system that releases water slowly and without waste.
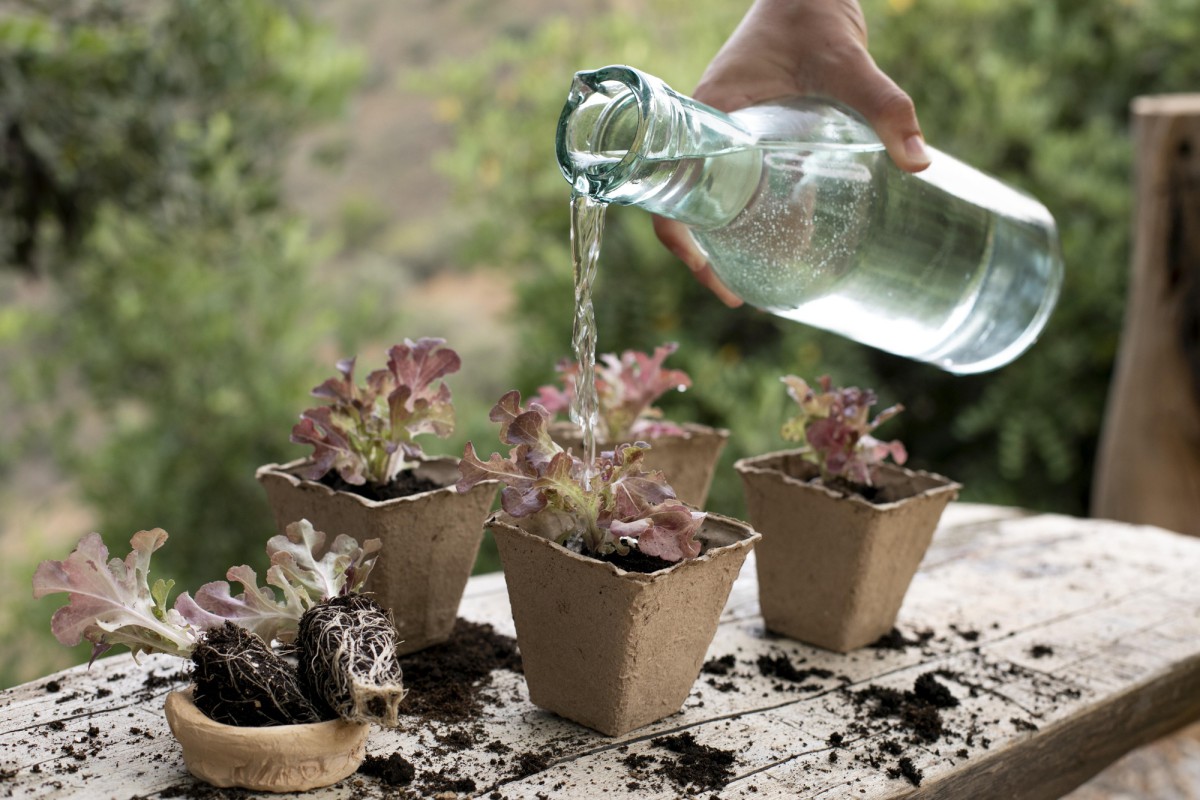
When going on holiday or leaving home for a few days, those who do not have pets are very concerned about the care of their plants. They need the same care as a dog or cat, from love to water.
But with this gardening trick, you can rest assured, as it would solve practically all these problems related to the care of your garden. We will explain how this type of irrigation works and how to do it.
What is a drip irrigation system?
Watering plants is essential for their healthy growth.
Drip irrigation is a technique that supplies water directly to the roots of plants, in small amounts and constantly. This prevents evaporation, reduces water consumption and keeps the soil moist for longer.
Although professional systems can be expensive, a homemade version using recycled bottles offers surprising results, especially for pots, vegetable gardens or small or domestic gardens.
If you are interested and want to build one, you should have the following items to hand:
- Plastic bottles (1.5 or 2 litres).
- Needle or hot nail for making holes.
- Scissors or craft knife.
- Adhesive tape or glue (optional).
Step by step guide to drip irrigation with bottles
1. Prepare the bottles: wash them and remove the labels. Using a needle or hot nail, make small holes in the cap. The size and number of holes will depend on how much water you want to give the plant.
2. Fill the bottles with water and close them tightly with the perforated cap.
With this technique, every drop counts and your plants will thank you with greener leaves and healthier flowers.
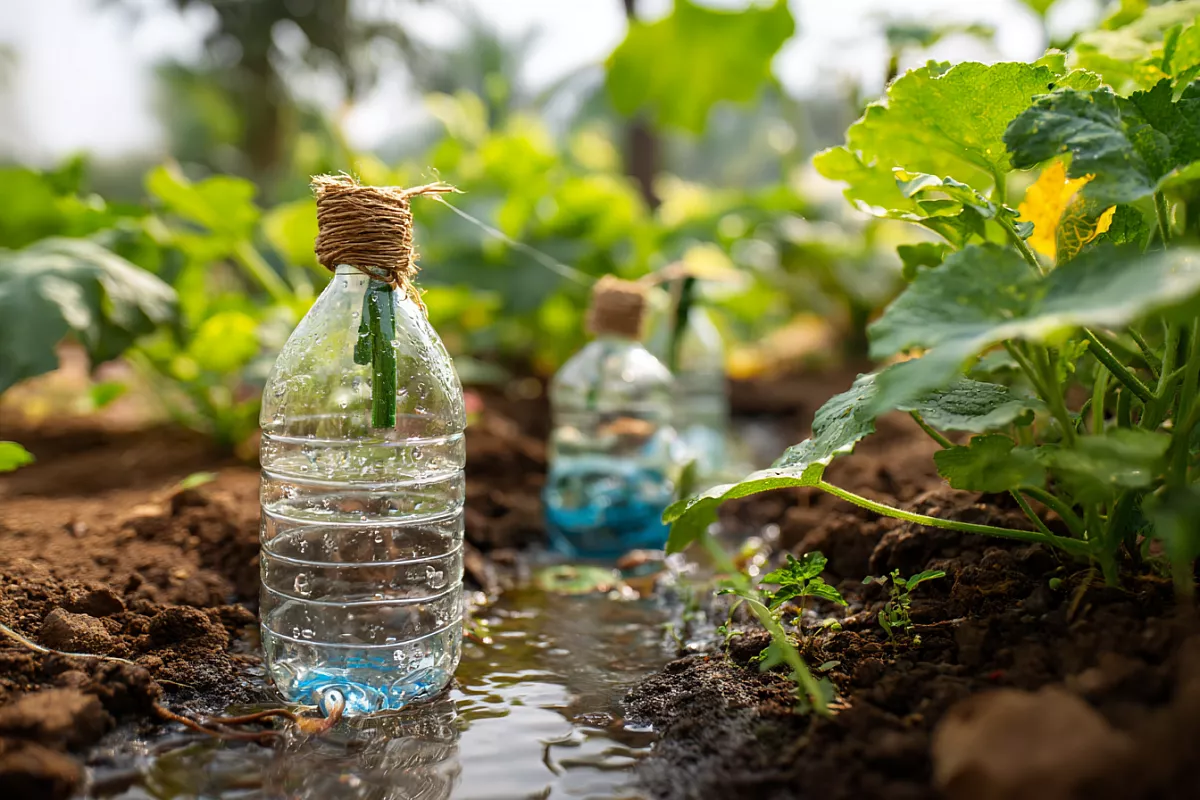
3. Place the bottles in the soil: make a small hole in the soil next to each plant and bury the bottle upside down so that the water drips directly near the roots. In this case, you can place the bottles in two ways: vertically or horizontally.
If you choose the first option, you should bury the bottle upside down, with the perforated cap a few centimetres from the roots. If you want to place it horizontally, lay it on the ground with the holes facing downwards.
4- If you notice that the water is draining too quickly or too slowly, you can adjust the holes in the cap to achieve adequate watering.
In both cases, the water will come out slowly, keeping the soil moist for several days.
4. Adjust the flow
If you notice that the water is released too quickly, seal one or two holes with adhesive tape. If the drip is too slow, slightly enlarge one of the holes.
Benefits of drip irrigation
- Saves up to 70% less water than traditional watering.
- Requires no effort, as you do not need to water every day.
- Promotes growth, as plants receive constant moisture without becoming waterlogged.
- Recycles plastic: reuses bottles that would otherwise go to waste.
- It is ideal for when no one is at home and you don’t want your plants to suffer.
Creating a drip irrigation system with bottles is a very clever gardening trick for taking care of your plants and recycling at the same time. It requires very little effort, costs nothing and makes use of recycled materials. Enjoy!